
Want to know how to create a gallery wall with family photos? The first step is to carefully plan your layout and select the perfect frames, as this initial phase sets the foundation for a smooth and stress-free experience. This guide will walk you through each step to ensure your display is beautiful and cohesive.
Introduction to Gallery Walls
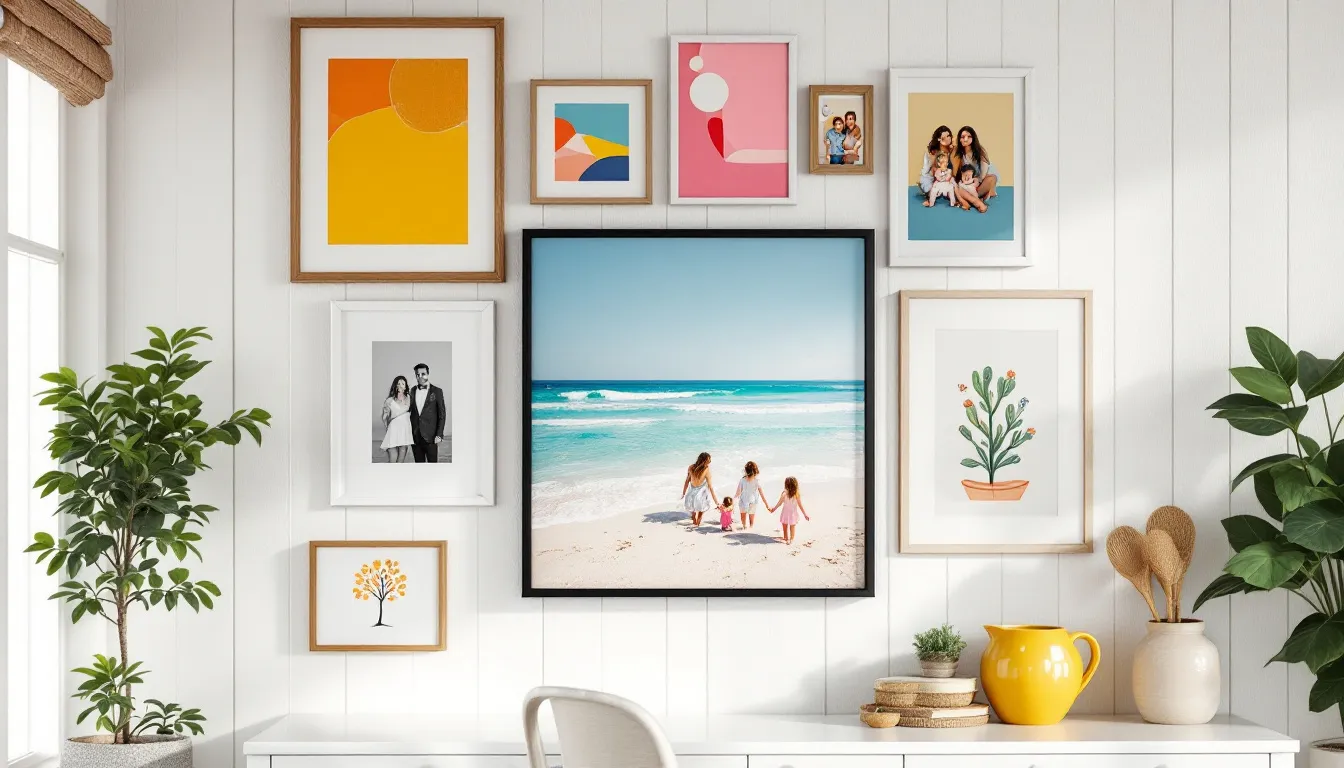
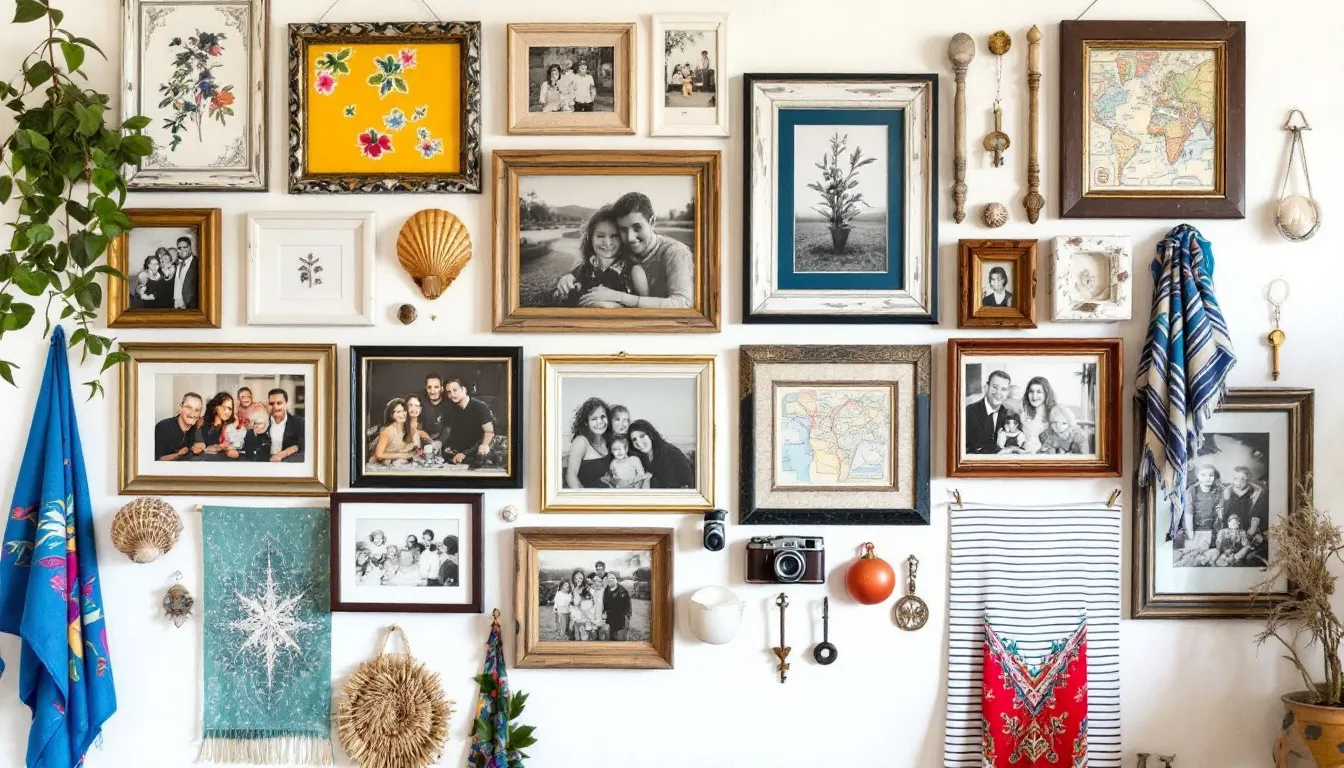
A gallery wall is a creative and stylish way to display family photos and add character to any room in your home. By arranging a collection of framed artwork, prints, and cherished family pictures on a wall, you can transform a blank space into a personalized showcase that reflects your unique decor style. When creating a gallery wall, think about the overall look you want to achieve—whether it’s modern, classic, or eclectic—and select frames that complement your space. Mixing wood frames, black frames, and white frames can help you build a perfect gallery wall with a cohesive color palette, while custom framed pieces and canvas prints add variety and texture.
Start by gathering your favorite family photos and consider how different frames and styles will work together as a collection. Don’t be afraid to mix and match—combining various frame sizes, shapes, and finishes can make your gallery wall feel curated and intentional. Whether you’re filling a large wall in the living room or creating a cozy corner in a hallway, a well-designed gallery wall is a fun way to display family photos, showcase your favorite prints, and bring your own sense of style to your home.
Key Takeaways
- Start with a clear layout plan on the floor and use painter’s tape to visualize placements on the wall for a balanced gallery.
- Incorporate a cohesive color palette and mix frame styles and sizes to create a visually appealing gallery wall.
- Add personal touches and consider seasonal updates to keep your gallery wall unique and fresh over time.
Plan Your Gallery Wall Layout
Initiating the process of creating a family photo gallery wall begins with devising an arrangement. Before driving any nails into your wall, it’s crucial to get a concrete vision of how your gallery will be by arranging your photos on the floor. Here’s what you need to keep in mind while planning:
- Position and reposition your pictures on the ground to gain insight into their collective visual harmony.
- Keep shuffling through various configurations until you stumble upon an aesthetically pleasing combination that resonates with you.
- Initiate with a frame placed slightly off-center for an element of vitality in your overall scheme.
Arranging your photos in this way helps you fill empty wall space for a balanced and complete look.
To forge a cohesive display, pay close attention to each picture’s size and orientation within this mix. Spreading out images on the floor provides the flexibility required for tweaking positions effortlessly, ensuring they complement each other effectively. Taking this preliminary action is pivotal for achieving a unified and refined look once the gallery adorns your wall. The goal is to have the wall filled with your chosen arrangement, creating a visually complete and vibrant display.
Measure and Mark
Once you’ve decided on a gallery wall arrangement that pleases you, it’s time to replicate that design onto your actual wall. Here are the steps to follow.
Firstly, employ painter’s tape to delineate where each photo will be placed on the wall. This action enables you to envisage how they’ll look and permits adjustments prior to using nails.
Secondly, initiate the hanging process starting from the central point of your wall.
Lastly, continue placing photos outward from this midpoint, which helps in preserving symmetry and guarantees consistent spacing among frames.
Utilizing painter’s tape is advantageous not only for planning out your gallery, but also simplifies mounting photos effectively. By marking off a center point and expanding outwards systematically, you create an orderly and proportioned display on your wall akin to those seen in galleries—professional-looking with deliberate arrangement.
Use Templates
To simplify the process of creating a gallery wall, use paper templates that correspond to each frame size and affix them to your wall with tape. This approach lets you visualize various configurations and tweak them effortlessly without having to commit by drilling holes immediately. Utilizing paper templates is an excellent method for testing out different placements on the wall, guaranteeing that every piece finds its ideal position.
Utilizing these templates significantly enhances both efficiency and accuracy when assembling a gallery wall. You’re able to shuffle these placeholders around, observing how they relate spatially, giving you a concrete impression of what the completed arrangement will resemble. This preliminary step proves invaluable in confirming that the overall composition of your gallery wall presents itself as unified and visually harmonious.
Choose a Cohesive Color Palette
To establish a polished and unified appearance for your gallery wall, maintaining a cohesive color palette is crucial. By integrating shades from the existing decor of your room into both the frames and photos, you can achieve an overall sense of unity that complements your space’s design.
Preserving uniformity in tone and intensity among all art pieces reinforces this cohesiveness. Opting for identical frame styles or a variety of styles doesn’t detract from the aesthetic as long as you adhere to a consistent color scheme throughout. Additionally, incorporating mixed metals in your frame choices can add visual interest while still maintaining a cohesive color palette. This strategy will assist in forging a smooth and attractive gallery on your wall.
Start with a Statement Piece
Initiating your gallery wall involves selecting a prominent piece of framed artwork that will become the highlight. This includes:
- Picking out an impactful, sizable art piece or photo
- Using a shadow box frame as a statement piece to add depth and dimension
- Arranging it at the heart of your wall to act as the central feature
- Hanging this centerpiece at eye level to guarantee it draws focus and establishes the mood for your entire gallery.
Orchestrating your gallery around this particular work permits artistic liberty. You might choose a non-symmetrical layout to foster visual allure and integrate various styles of frames surrounding this key element, enhancing the visual texture. A substantial framed piece can be particularly commanding, instilling a modern art vibe within your ensemble.
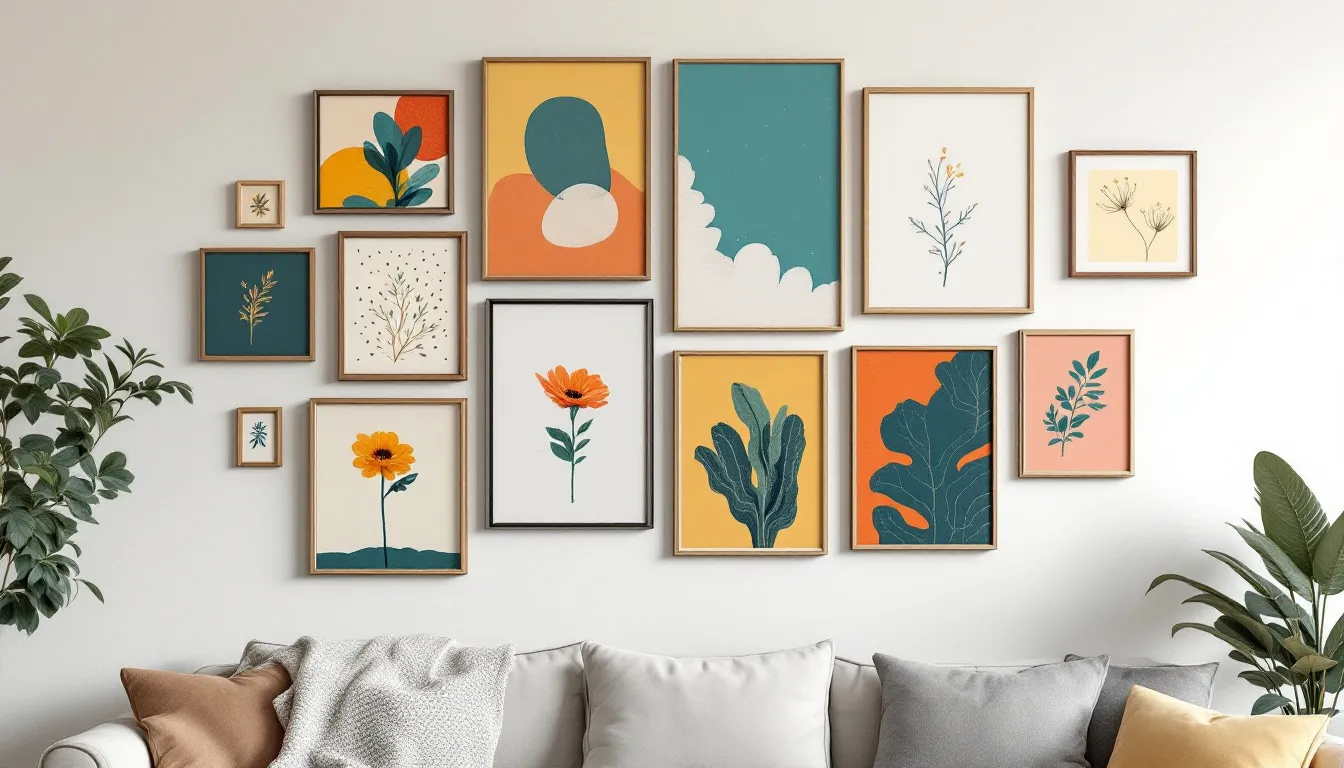
Mix Frame Styles and Sizes
Incorporating a variety of frame styles and sizes, even mixing up the dimensions, is an excellent method to infuse depth and individuality into your gallery wall. A cool idea is to create a modern diptych by pairing two contrasting frames side by side, or to use unexpected frame combinations for a unique, eye-catching effect. You might want to consider incorporating frames such as:
- White frames
- Black frames
- Wood frames
- Ornate frames
The diversity in color contrasts and material textures can greatly enhance the aesthetic appeal, ensuring each printed photo is given its due prominence.
One creative idea is to organize these assorted frames into an alternating grid pattern or to use different frame sizes to enhance your gallery wall. Continuously refreshing your gallery by introducing new framed pieces or altering their arrangement will maintain the vibrancy of your display while fostering constant artistic expression.
Add Personal Touches
Incorporating personal keepsakes into your gallery wall transforms it into a distinct showcase that encapsulates the essence of your family. Including your favorite things, such as special mementos or meaningful objects, can make your gallery wall even more personal. Items like handwritten notes, children’s artwork, and other small treasures can infuse your display with warmth and personality, turning the wall into an intimate mosaic brimming with cherished memories.
Employing a variety of both framed and unframed custom canvas prints on your gallery wall lends a tailored touch to its arrangement while introducing various artistic styles. This technique not only injects contemporary flair into your space, but also allows you to enhance the uniqueness of a themed gallery by including sentimental objects such as ticket stubs or Polaroid photos. These personal touches bring your family's memories and life into your home decor.
Balance Black and White with Color Photos
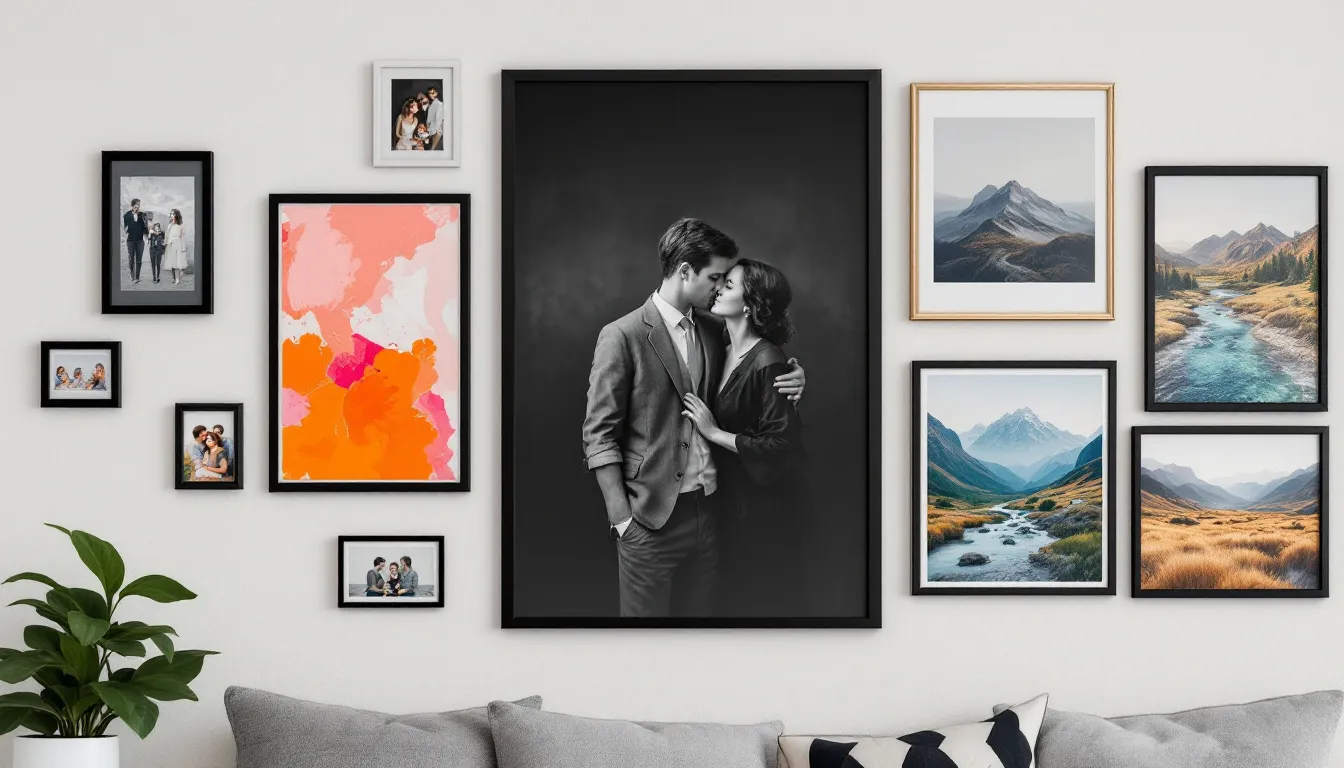
Mixing color photos with black and white images can produce a visually compelling effect on your family photo gallery wall. To maintain equilibrium and ensure that no area appears overly dense or sparse, it’s essential to evenly intersperse these photos across the wall. Such an arrangement boosts the attractiveness of the gallery, making it captivating.
To enhance this balance, include both black frames and white frames within your display. This technique aids in establishing a unified color scheme that allows for black and white as well as colored photos to accentuate one another harmoniously on your gallery wall.
Utilize Photo Ledges
Utilizing photo ledges is a versatile and practical approach to exhibit family pictures. This method facilitates effortless reorganization and refreshing of your gallery wall, ensuring it remains captivating and current.
Incorporating matching frames on these picture shelves helps establish uniformity throughout the display. Adding framed plants or cherished keepsakes alongside the photos within your home enriches the visual appeal of this concept.
Incorporate Different Shapes
To avoid a monotonous appearance on your gallery wall, integrate various shapes. Introducing distinctive forms like circles or ovals can create visual intrigue and enhance the decor style.
Incorporating round decorative elements like embroidery hoops or oval canvases brings an appealing contrast to traditional rectangular frames. This approach contributes diversity to the collection’s overall gallery-style display, ultimately enriching the entire decorating scheme with fresh ideas and mixing different styles for a dynamic effect.
Consider Canvas Prints
Incorporating canvas prints into your gallery wall can infuse it with a contemporary feel. High-quality printing is essential for canvas prints, as the choice of printing method—such as digital printing or even Polaroid prints—can significantly impact the final appearance and vibrancy of your gallery wall. These eye-catching items elevate the aesthetic of your space and offer a contrast in texture to conventional framed photographs. For smaller surfaces like shelves or bedside tables, compact framed canvas prints are perfect for adding versatility and enhancing the overall look of your gallery.
For an added touch of artistic flair and unity on your wall, contemplate creating a modern diptych using canvas prints. Mixing these canvases with varying styles of frames will yield a lively and attractive arrangement that captivates the viewer’s attention.
Making it a Family Affair
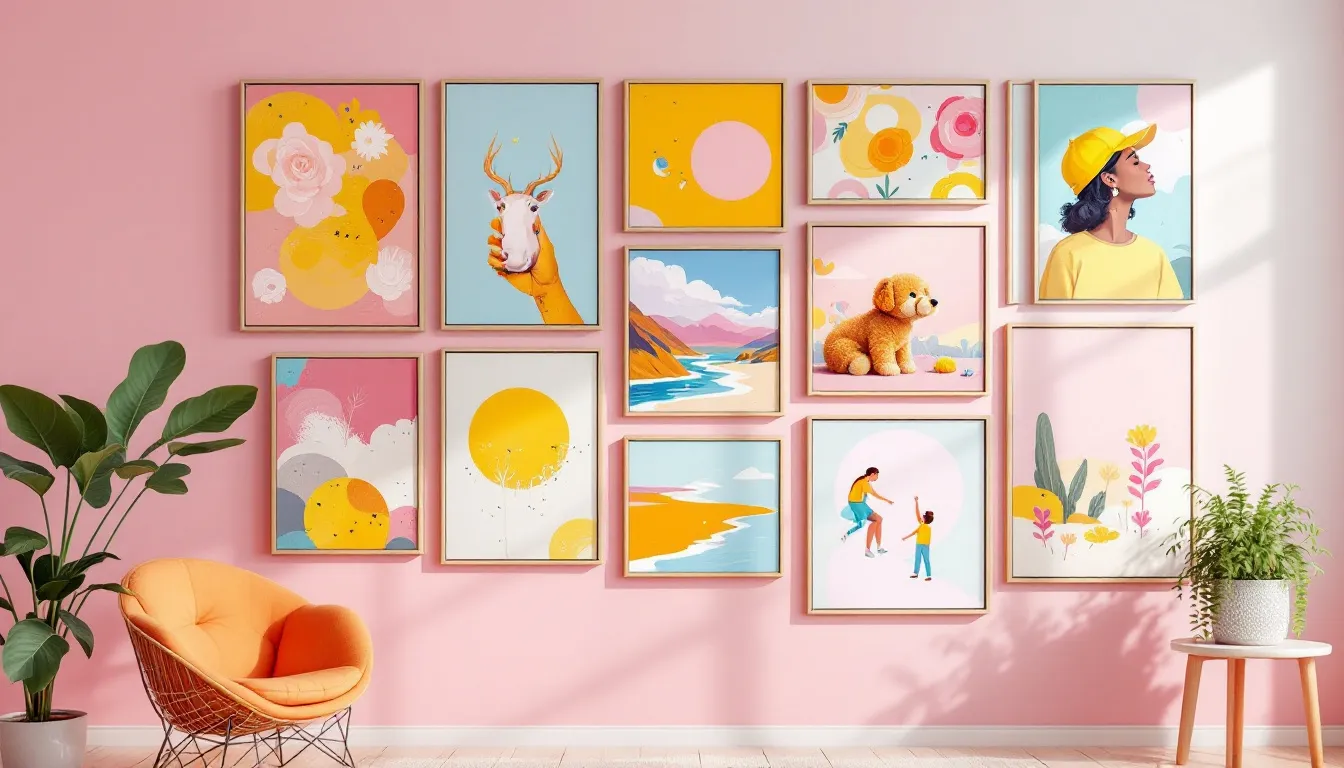
Creating a family photo gallery wall is the perfect opportunity to get everyone involved and make decorating a true family affair. Invite each family member to pick out their favorite photos and help choose the frames, so the finished gallery wall feels personal and meaningful to everyone. This collaborative approach not only makes the process more enjoyable, but also creates a sense of pride and ownership in the final display.
Consider placing your gallery wall in a shared space, like the dining room or upstairs hallway, where the whole family can enjoy the memories every day. Play with a mix of frame sizes and styles to add visual interest—let kids choose fun or colorful frames for their pictures, while adults might prefer classic black or wood frames. Experiment with different layouts and arrangements until you find a look that feels just right for your family and your home. By making it a group project, you’ll create a gallery wall that truly tells your family’s story and brings everyone together.
Proper Installation Techniques
Ensuring a refined and expert appearance for your gallery wall requires correct mounting methods. Employing painter’s tape to mark out the area and utilizing a level to verify alignment can greatly enhance the outcome. Don’t forget to choose the right frames as part of the installation process, as frame selection plays a crucial role in the overall design.
Aiming for uniform gaps between frames, instead of absolute precision, is key in creating an orderly and harmonious display on your wall.
Tools Needed
Having the right tools is essential for creating a well-organized and attractive gallery wall. Essential tools include:
- A measuring tape, crucial for ensuring accurate spacing and alignment of frames
- A hammer
- Nails
- A level
- Painter’s tape for marking placements
Hanging Tips
In the process of creating your gallery wall, employing picture-hanging wire is beneficial for making flexible adjustments and minimizing damage to the wall. The necessary tools to accomplish this task include a hammer, level, measuring tape, and pencil to mark where each piece will be placed. Initiating with the largest frame as an anchor point and expanding from there aids in upholding balance while crafting a unified appearance on your wall. Inserting smaller frames amongst larger ones contributes to an engaging visual display.
Ensuring that all frames are hung evenly is critical for achieving a refined look on your gallery wall. Hence, using a level is imperative. The advantage of utilizing picture-hanging wire lies in its ability to facilitate simple tweaks which allow you effortlessly fine-tune the placement of pictures until it’s perfect without inflicting extensive harm upon your walls.
Lighting for Your Gallery Wall
Ensuring your gallery wall is well-lit is key to both enhancing its appearance and fostering a cozy atmosphere. Implementing wall sconces can serve to bring out the best in your family photos, infusing an intimate element into your arrangement. The right accent lighting plays a pivotal role in drawing attention to pieces of artwork, much like how galleries spotlight their most notable works.
For illuminating a gallery space, it’s advisable to opt for LED bulbs as they offer energy efficiency while reducing heat emission—this contributes to the preservation of framed photographs. By installing lights at an angle of 30 degrees above each piece, you can effectively reduce glare and improve visibility, making sure that your gallery wall becomes an eye-catching feature within the room.
Create a Themed Gallery Wall
Designing a gallery wall with a specific theme not only brings cohesion to your collection, but also weaves an engaging narrative. Opting for a central motif like travel adventures or significant family events can anchor the overall look of the gallery while imbuing it with personal significance that resonates with you and your loved ones. The inclusion of diverse forms of art, such as paintings and photos, elevates the visual intrigue and introduces layers to your ensemble.
By integrating elements beyond traditional frames—like textile works or three-dimensional pieces—the allure of your gallery walls is significantly enriched. Incorporating items such as fabrics or sculptures, particularly those that break away from conventional shapes, infuses distinctiveness and flair into your displays, ensuring that they reflect a character uniquely tailored to you and stand out as one-of-a-kind creations.
The whole thing, from choosing a theme to hanging the final piece, can be a smooth and enjoyable process.
Seasonal Updates
Adding seasonal flair to your gallery wall can elevate its aesthetic and maintain a lively atmosphere all year round. By exchanging regular family photos with images that reflect the current season, like holiday themes or events related to specific times of the year, you can give your wall an updated appearance without having to overhaul its entire arrangement. These periodic updates might involve shifting photo positions around for a dynamic visual experience that continues to captivate onlookers.
Transforming casual photographs into Polaroid-style pictures injects a playful and laid-back element into your gallery display. This approach not only simplifies swapping out images in tune with changing seasons, but also revitalizes the look of your family portrait collection within the gallery space. Let this post spark fresh concepts for showcasing snapshots of treasured moments and cherished objects on your walls.
Common Mistakes to Avoid
While creating a gallery wall is a fun and rewarding project, there are a few common mistakes to watch out for. One of the biggest pitfalls is skipping the planning stage—without a clear layout, your gallery wall can end up looking cluttered or unbalanced. Take the time to map out your arrangement before you start hanging anything, and consider how the size and scale of each frame will work in your chosen room.
Another mistake is using frames that are too similar or too different, which can make the gallery feel either monotonous or chaotic. Aim for a thoughtful mix of styles and frame sizes to keep things visually interesting. If you’re unsure about how to achieve the right look, consider using a framing service or a gallery wall kit to help you plan and execute your design. Remember, the key to a successful gallery wall is a well-thought-out layout that brings together a variety of artwork and frames in a way that feels cohesive and intentional.
Preserving Memories
A gallery wall is more than just a decorative feature—it’s a beautiful way to preserve memories and tell your family’s story. Choose family photos that capture meaningful moments, and arrange them in a way that creates a narrative or highlights a special theme. To make your gallery wall even more unique, consider adding personal touches like children’s artwork, travel mementos, or small pieces of meaningful artwork.
Using a consistent color scheme or style throughout your gallery wall will help tie everything together, even if you’re mixing different frames and layouts. Don’t be afraid to experiment with arrangements until you find one that feels just right. A thoughtfully designed gallery wall not only displays family photos, but also celebrates the memories and milestones that make your family special—turning your wall into a living story that you’ll cherish for years to come.
Summary
Creating a gallery wall with family photos is a rewarding project that adds warmth and character to your home. A well-designed gallery wall can transform any house into a warm, inviting own home by showcasing your family's personality and memories. By planning your layout, choosing a cohesive color palette, and incorporating personal touches, you can create a stunning display that tells your family’s unique story. Proper installation techniques and lighting can enhance the visual appeal, making your gallery wall the star of your home.
Remember, a gallery wall is a living project that can evolve over time. Gallery walls can be displayed in various rooms and spaces, such as living rooms, bedrooms, and even a long hallway for a dramatic, gallery-like effect. Regularly updating and refreshing the display keeps it interesting and engaging. Start planning your gallery wall today and transform a blank wall into a vibrant tapestry of memories.
Frequently Asked Questions
How do I balance the layout of different photo sizes and orientations?
To balance different photo sizes and orientations, lay them out on the floor first to see how they fit together. Then, use painter’s tape on the wall to mark the arrangement.
This approach helps you get a visual sense of the final look before you hang anything.
What tools do I need to install a gallery wall?
You’ll need a hammer, nails, a level, measuring tape, and painter’s tape to get your gallery wall just right.
With these tools, you’ll be ready to create a stunning display!
How do I choose a color palette for my gallery wall?
To choose a color palette for your gallery wall, focus on colors that complement your room’s decor and stick with a consistent frame style for a cohesive look.
This will tie everything together beautifully!
Can I mix black and white photos with color photos?
Absolutely, mixing black and white photos with color ones can create a stunning visual contrast.
Just arrange them thoughtfully for an eye-catching display!
How do I update my gallery wall seasonally?
You can easily update your gallery wall seasonally by swapping out family photos for seasonal images and rearranging the layout to keep it feeling fresh and lively.
It’s a fun way to keep your decor in sync with the changing seasons!