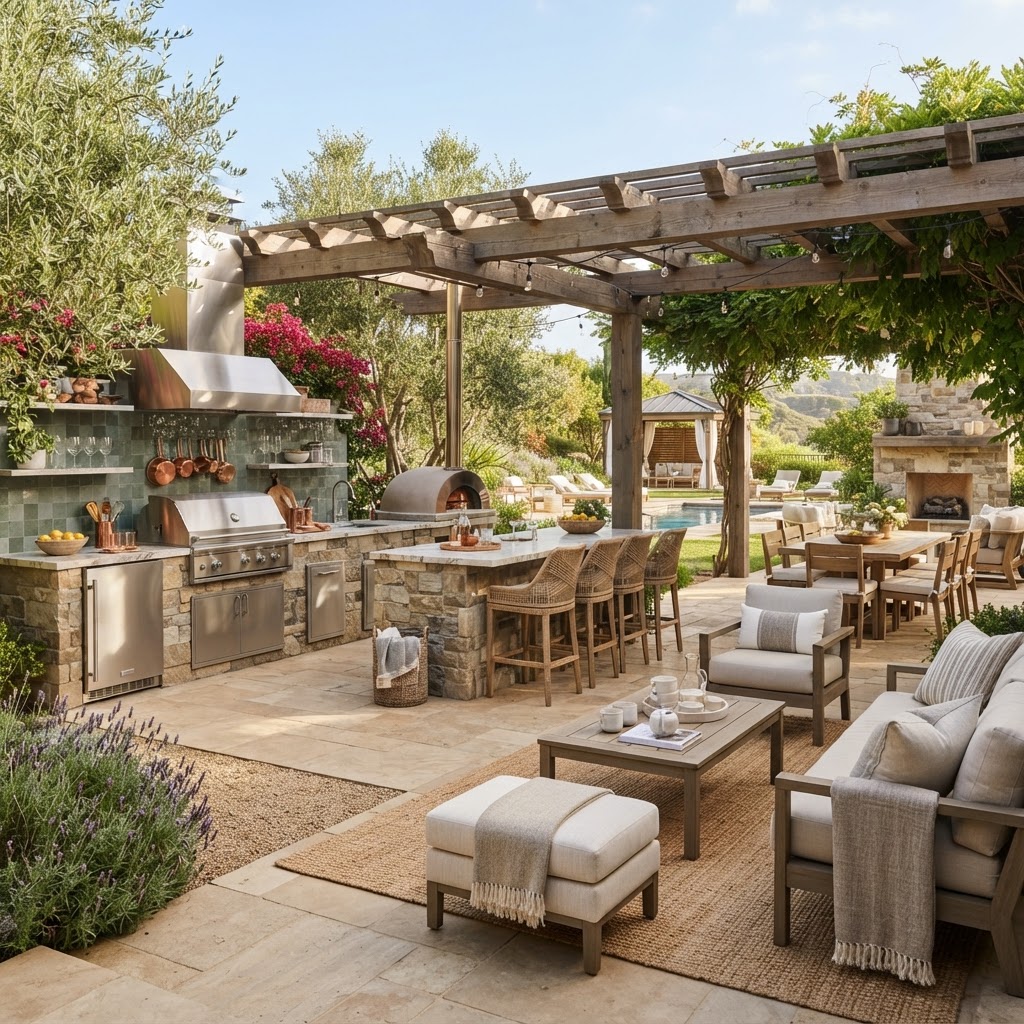
Outdoor Kitchen Patio Layout Ideas
Smart outdoor kitchen patio layouts balance cooking, dining, shade, and circulation so your patio feels easy to use and built for real life.
Outdoor Kitchen Patio Layout Ideas
Good outdoor kitchen patio ideas do more than fit a grill and a table into the same space. The best layouts make cooking feel easy, keep smoke away from guests, leave enough room for traffic, and give everyone a comfortable place to sit once dinner is served.
I’ve seen plenty of patios that looked great on paper but felt cramped the minute two people tried to cook, carry trays, and move chairs at the same time. A strong patio layout solves that problem early. If you’re still planning the bigger picture, start with Bari Decor’s Patio Design and Installation Guide, then use the ideas below to shape the kitchen zone in a way that works for your yard, budget, and habits.
Key Takeaways
- Keep at least 36 to 48 inches of clear walking space around grills, dining tables, and major traffic routes.
- Divide the patio into work zones: cooking, prep, dining, and lounging.
- Match the kitchen shape to the patio size; an L-shape or straight run often works better than a large island in average backyards.
- Shade matters. A pergola, roof extension, or umbrella placement can make the kitchen and seating area usable for longer stretches of the day.
- Material choice affects both price and performance, especially around heat, grease, and freeze-thaw weather.
- Get utility locations, drainage, and lighting figured out before hardscape installation starts.
Outdoor kitchen patio ideas start with movement, not appliances
Most homeowners begin with the grill. I usually begin with feet.
If your guests have to squeeze behind the cook, step around open cabinet doors, or drag dining chairs into the traffic path, the patio will never feel relaxed. For a functional patio layout, leave about 36 inches minimum for simple walkways and 42 to 48 inches in working areas behind a grill or prep counter. If there’s seating behind the cook, I like 48 inches even on smaller projects.
Think about the route from the house to the kitchen first. You’ll carry groceries, platters, drinks, and trash along that path every time you use the space. The shortest, clearest route should connect the back door to the prep zone, not force you to snake through lounge furniture.
Designer’s rule from the job site: If someone can open the grill, someone else can pull out a dining chair, and a third person can still walk through without turning sideways, the layout is probably right.
A clean circulation plan also helps with safety. Hot grill lids, kids running in and out of the yard, and slippery areas near drink stations are real concerns. I often separate the beverage station from the main cooking line so guests can help themselves without crowding the cook.
Best patio layout options by yard size
Not every backyard needs a sprawling resort-style setup. Some of the best outdoor kitchen patio ideas come from sizing the plan honestly.
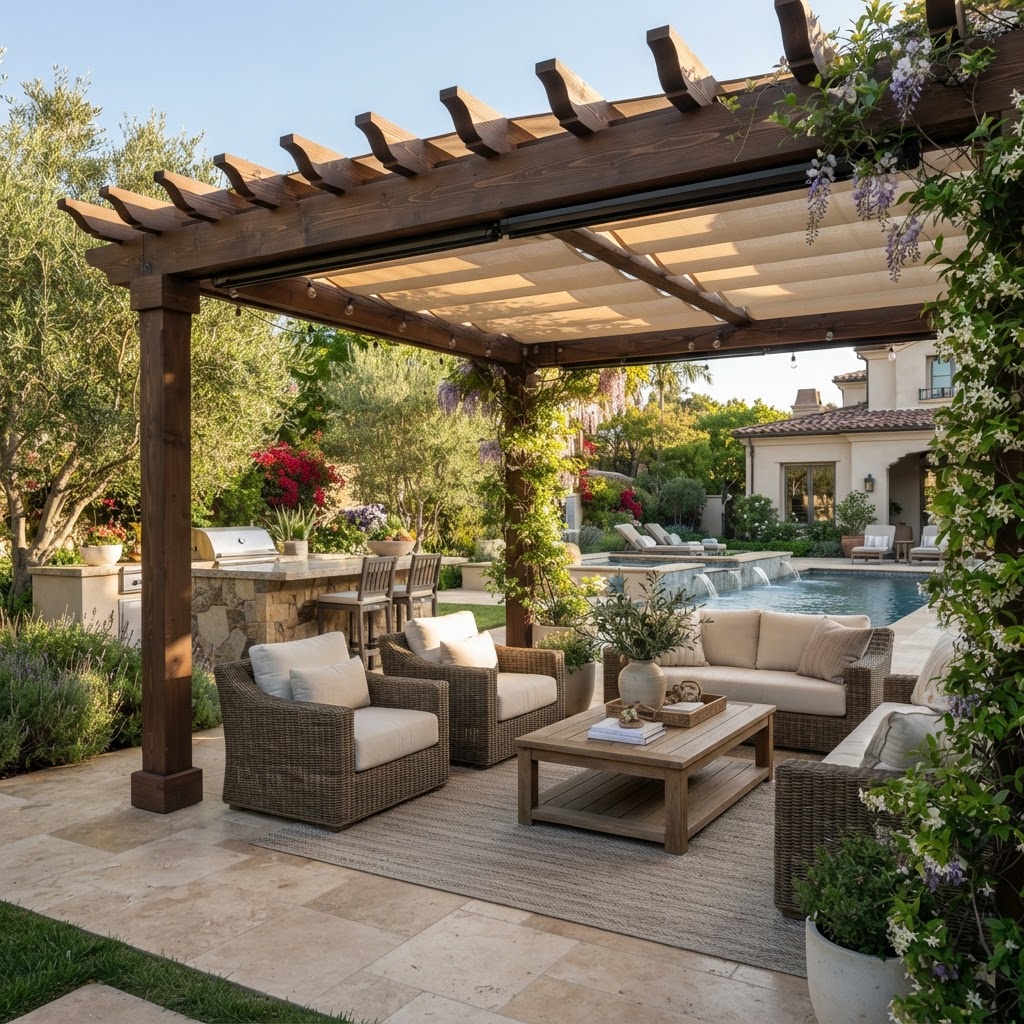
A compact patio can still support a grill, a small prep surface, and a bistro-style dining area if the furniture is scaled properly. Mid-size patios do well with a defined kitchen edge and a central dining zone. Larger patios can handle a kitchen plus bar seating, a dining table, and a secondary lounge under shade.
| Patio size | Best layout approach | Typical features | Watch-outs |
|---|---|---|---|
| 150-250 sq. ft. | Straight kitchen run along one edge | Grill, 24-36 in. prep counter, compact dining set | Don’t add a big island that blocks movement |
| 250-400 sq. ft. | L-shaped kitchen with dining nearby | Grill, sink, storage, 4-6 person table | Leave enough room for pulled-out chairs |
| 400+ sq. ft. | Zoned layout with kitchen, dining, lounge | Grill island, bar seating, dining table, fire feature | Avoid scattering features too far apart |
For smaller homes, I often place the kitchen on the perimeter of the patio and keep the center open. That open center makes the area feel bigger and gives you flexibility for dining, kids, or extra seating. If your lot is narrow, a galley-style arrangement with the kitchen on one side and dining on the other can work beautifully.
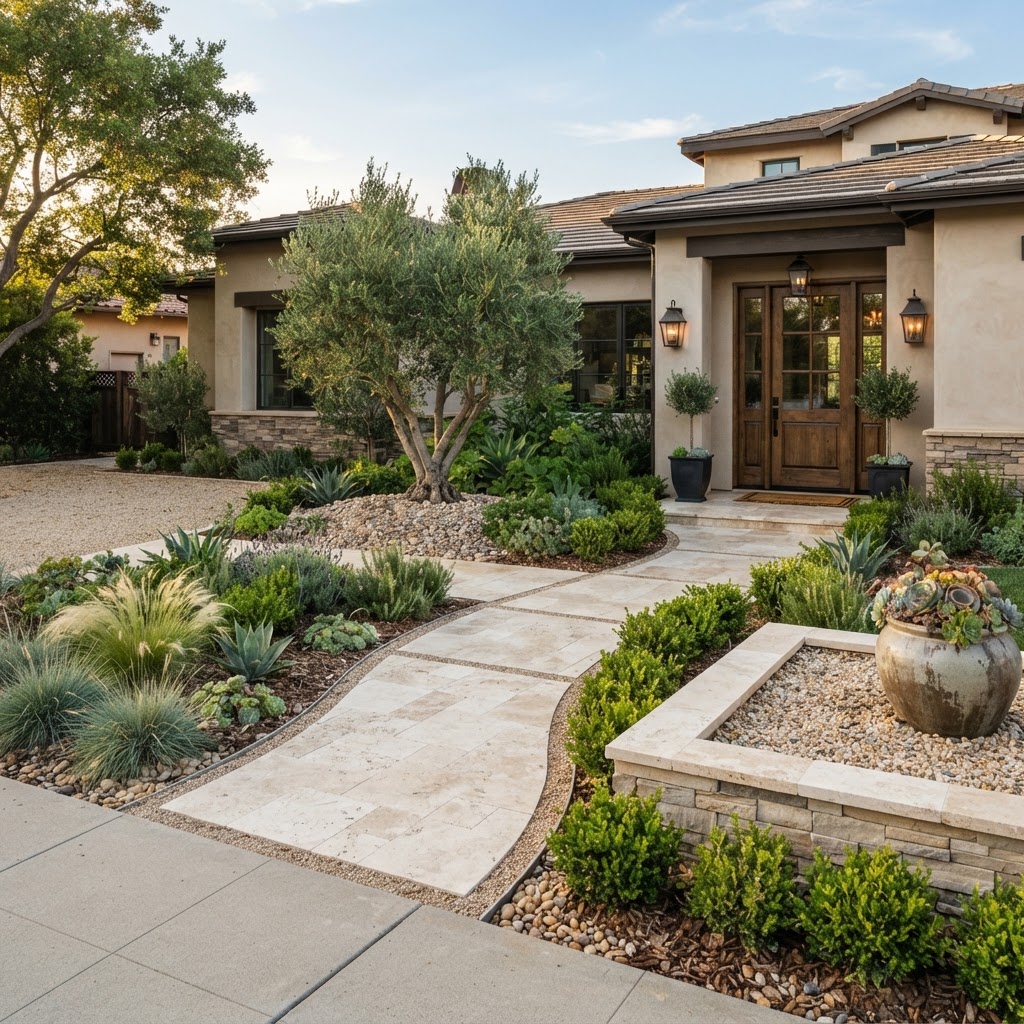
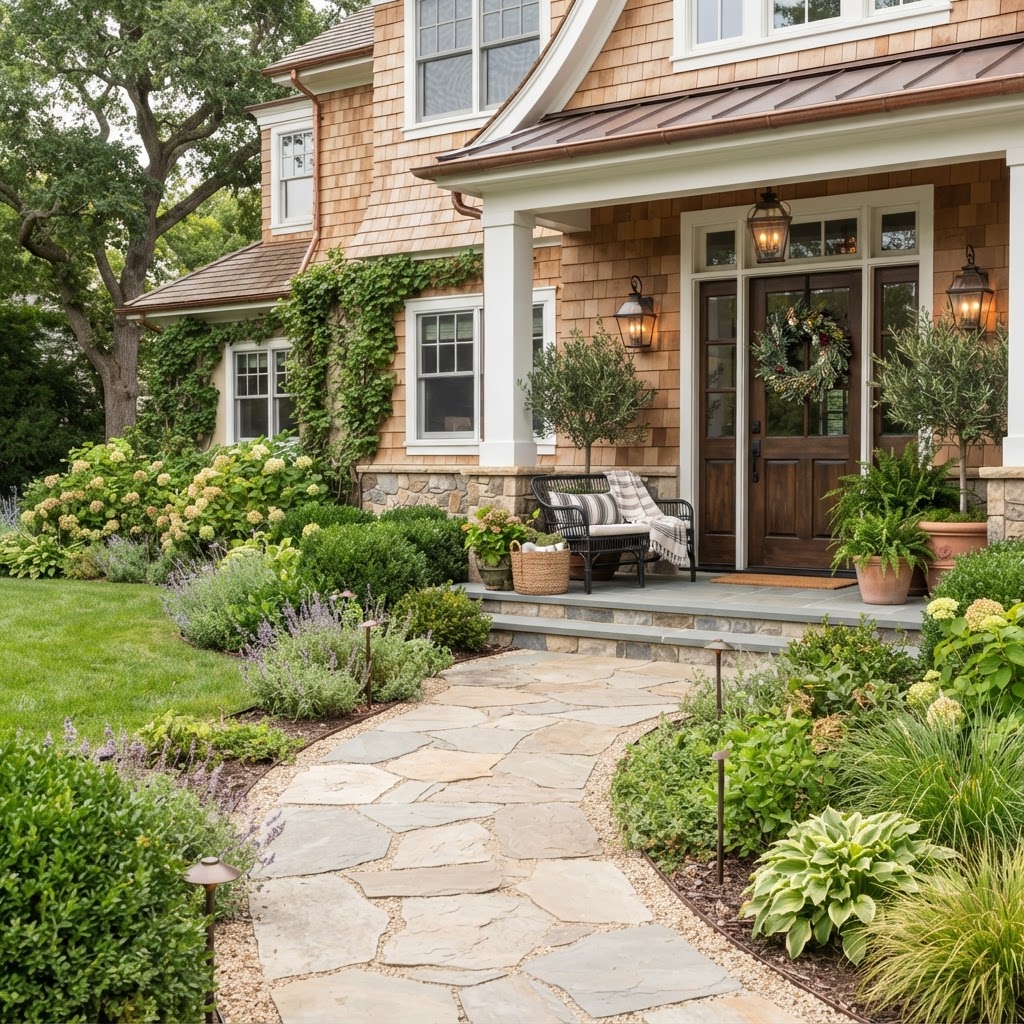
If you’re also updating curb appeal and circulation around the house, it’s worth comparing your rear patio materials and front hardscape choices with Front Walkway Materials Compared. Keeping those surfaces coordinated makes the whole property feel more intentional.
Choose a kitchen shape that fits the way you cook
The shape of the outdoor kitchen matters almost as much as its size. I’ve built straight runs, L-shapes, U-shapes, and full islands, and each one solves a different problem.
A straight kitchen is usually the smartest move for modest patios. It’s clean, affordable, and easy to place against a house wall or along the patio edge. An L-shape adds better prep flow and can create a natural corner for the cook. U-shapes and island plans are best when you have real square footage and enough budget for utility runs, countertop overhangs, and storage.
| Kitchen shape | Best for | Pros | Cons |
|---|---|---|---|
| Straight run | Small to medium patios | Lower cost, easy traffic flow, simple utility routing | Less counter space |
| L-shape | Medium patios | Better work triangle, room for prep and serving | Needs corner planning |
| U-shape | Large patios | High function, lots of storage | Can feel bulky if undersized |
| Island kitchen | Large entertaining patios | Great for social cooking and bar seating | Highest cost and clearance needs |
As a rough budget, a basic grill station with masonry surround and modest counter space may start around $5,000 to $9,000, while a more complete outdoor kitchen with sink, refrigeration, storage, electrical, and stone veneer can easily run $15,000 to $35,000 or more, depending on finishes and utilities. The patio itself is a separate line item, so review a realistic hardscape budget with Bari Decor’s Paver Patio Cost Guide.
If you’re comparing surfaces for the kitchen footprint, Stamped Concrete vs Pavers is helpful because the right material changes both the look and the maintenance story.
Balance cooking, dining, and lounging in clear zones
The best outdoor spaces are easy to read. You should be able to look at the patio and immediately understand where food gets cooked, where people eat, and where they relax after the meal.
I like to place the dining area closest to the kitchen, but not directly in the cook’s path. In many yards, the sweet spot is 4 to 8 feet from the prep counter. That keeps serving practical without forcing diners to sit in heat and smoke. Lounge seating can sit a bit farther out, especially if it faces the yard, pool, or fire feature.
Shade ties these zones together. A dining table in direct sun at 5 p.m. won’t get much use in July, no matter how pretty it looks. A pergola over the dining zone, or a partial overhead structure that covers both prep and seating, can completely change how long the patio stays comfortable. Bari Decor’s guide to Pergola ideas for shade and style shows several ways to add structure without making the space feel heavy.
You can also soften the hardscape with planting beds or simple border landscaping. If you want the whole yard to feel easier to care for, low-maintenance front yard landscaping ideas can inspire a similar low-upkeep approach around the patio perimeter.
Pick patio materials that support heat, spills, and weather
A patio kitchen is tougher on surfaces than a basic sitting area. Grease splatters, dropped tongs, chair scraping, ice melt, and freeze-thaw cycles all take a toll.
Pavers are often my first recommendation for an outdoor kitchen patio because they handle movement well, offer easy repairs, and come in styles that work with modern, traditional, and rustic homes. Stamped concrete can cost less up front on some projects and gives a cleaner slab look, but repairs are more noticeable and wet areas can become slick if the finish isn’t right. Natural stone is beautiful, though it usually pushes the budget up fast.
Here’s a practical material snapshot:
| Material | Installed cost range* | Best traits | Trade-offs |
|---|---|---|---|
| Concrete pavers | $15-$30/sq. ft. | Durable, repairable, lots of patterns | Higher labor than plain concrete |
| Stamped concrete | $12-$25/sq. ft. | Continuous surface, custom color/pattern | Cracking and patching can show |
| Natural stone | $25-$50+/sq. ft. | Premium look, unique texture | Expensive, material variation |
| Porcelain pavers | $20-$40/sq. ft. | Low absorption, clean modern finish | Needs precise base prep |
*Ranges vary by region, site access, demolition, edge restraints, and drainage work.
If you’re still weighing the big picture, the Patio Design and Installation Guide is the best place to compare layout, drainage, and build methods before you finalize materials.
Don’t ignore utilities, lighting, and storage
This is the part homeowners often underestimate. The patio shape might be easy. The buried gas line, added electrical circuit, drainage slope, and task lighting plan are where projects get real.
A grill-only station is simple. The minute you add a sink, refrigerator, ice maker, side burner, heaters, or accent lighting, the coordination gets more involved. Running gas and electric after the patio is finished usually costs more and creates unnecessary rework. On many jobs, careful pre-planning saves a week of schedule headaches.
A typical add-on cost breakdown might look like this:
- Gas line extension: $500-$2,000 depending on distance and access
- GFCI electrical and lighting circuits: $1,000-$3,500
- Sink plumbing and drainage: $1,500-$4,000
- Ventilation or hood for covered kitchens: $1,500-$5,000+
- Weather-resistant storage and trash pullout: $800-$3,000
Storage is worth every inch if you entertain often. I always try to include one cabinet for grilling tools and fuel accessories, one trash/recycling location, and one dry drawer or cabinet for serving pieces. That keeps the outdoor kitchen from becoming a constant back-and-forth trip into the house.
Hiring the right pros for your patio layout
A successful outdoor kitchen usually involves more than one trade: hardscape installer, carpenter or mason, plumber, electrician, and sometimes a landscape designer or pergola builder. The smoother projects are the ones where someone is clearly coordinating the sequence.
If you’re still assembling your team, browse local home design and improvement professionals and request pricing through Bari Decor quote matching. For finish details like outdoor stools, planters, serving carts, or weather-friendly decor accents, you can also explore the Bari Decor store.
Before signing a contract, ask each pro who is responsible for layout staking, utility trenches, permits, inspections, material lead times, and final cleanup. I’d also want to know what happens if the grill appliance arrives late or a countertop template needs to shift because of a utility conflict. Those are the little job-site realities that separate a smooth build from a frustrating one.
A full outdoor kitchen patio can take anywhere from 2 to 6 weeks once construction starts, depending on weather, utility complexity, inspections, and custom fabrication. Simpler hardscape-only projects move faster. Complex covered kitchens with stone veneer, counters, and lighting packages take longer, and they should.
Summary
- Start your patio layout with circulation, then place the kitchen, dining, and lounge zones around that flow.
- Match the kitchen shape to the patio size; bigger isn’t always better.
- Choose materials that can handle heat, spills, weather, and maintenance over time.
- Plan gas, electric, plumbing, storage, and shade before the patio goes in.
- Use the Patio Design and Installation Guide as your broader planning resource, then price surfaces with the Paver Patio Cost Guide and compare finishes in Stamped Concrete vs Pavers.
Frequently Asked Questions
Written by
Bari Decor
Bari Decor — Industry Insights
Need a Professional for Your Project?
Get matched with verified home design professionals in your area.
Get Free Quotes