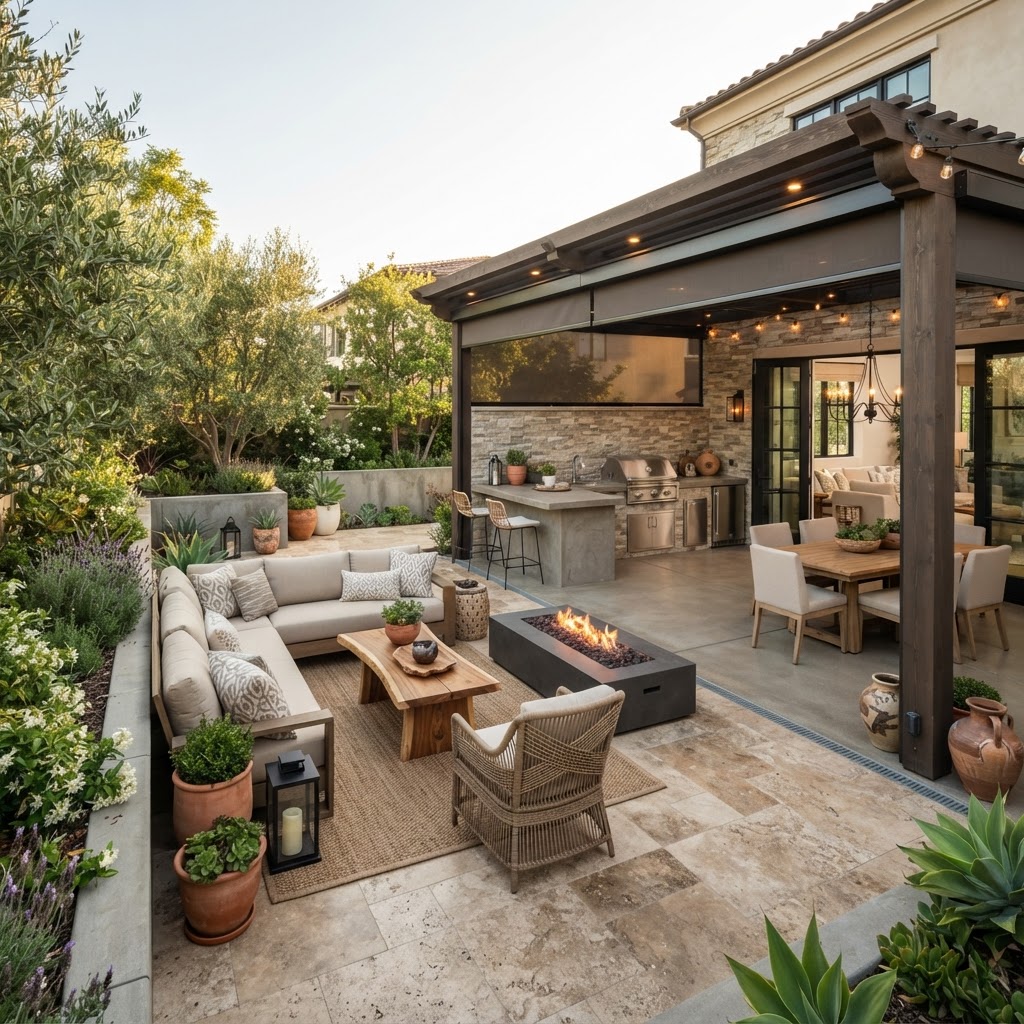
Patio Design and Installation Guide
Plan your patio with expert advice on layout, materials, drainage, shade, outdoor features, costs, and hiring the right installer.
Patio Design and Installation Guide
Good patio design starts long before anyone orders pavers or pours concrete. The best patios look easy and relaxed, but behind that finished surface is a lot of practical thinking: where the sun hits at 5 p.m., how rain moves across the yard, how wide the steps should be, and whether six people can sit down without bumping chairs into a grill.
A successful patio installation should solve real life, not just fill an empty backyard. You want enough room to dine, lounge, cook, and move around comfortably. You also want the surface to hold up through weather, foot traffic, furniture legs, and the occasional dropped planter. If the base, slope, and layout are wrong, even expensive materials will disappoint.
This guide walks through the full process, from planning and material selection to drainage, shade, features, costs, and hiring the right crew. If you're still deciding between hardscape options, a patio often gives you more usable square footage at ground level than a deck, with less ongoing maintenance.
Key Takeaways
- Start with function first: dining, lounging, grilling, and circulation should shape the layout.
- Material choice affects not just looks, but heat, traction, maintenance, and long-term repair costs.
- Proper base prep and drainage matter more than decorative upgrades.
- Shade, lighting, and privacy are what turn a patio into a space you actually use.
- Most patio budgets grow because of site work, steps, retaining, utilities, and add-on features.
- A good installer should explain excavation depth, slope, edging, drainage, and warranty in plain language.
Patio Design Starts With How You’ll Use the Space
The first question I ask clients is simple: what do you want to do out there on a normal weeknight? Eat dinner with the family? Sit by a fire pit? Watch kids play? Roll out yoga mats in the morning? Good patio design follows habits, not Pinterest boards.
A dining patio needs clear space around the table so chairs can pull back without falling off the edge. For a table that seats six, I usually want at least a 12 x 14 area if that zone will be used comfortably. A lounge setup with a sofa and two chairs often wants 10 x 12 at minimum, and that’s before you add a coffee table, side tables, or a fire feature.
Think in zones. One patio can do several jobs if it’s planned well. I often separate grilling, dining, and lounging with subtle shifts in furniture placement, a border course, or a change in direction of the paver pattern. The space feels organized without looking chopped up.
If you entertain often, don’t size the patio based on your everyday needs alone. A backyard that feels roomy for two can feel cramped with eight adults, a cooler, a serving table, and a dog weaving through chair legs.
Choose the Right Location, Size, and Layout
The best patio spot is usually close to the house, often just outside the kitchen or family room. That short walk matters more than people realize. If carrying plates, drinks, and groceries feels awkward, the patio won’t get used as much as you hoped.
Watch sun and shade before finalizing the layout. A west-facing patio can be brutal in late afternoon without a shade plan. A low, damp corner of the yard may stay cool, but it can also stay wet. I like to study the yard at three times: morning, midafternoon, and early evening. You’ll learn quickly where heat, glare, and runoff are going to cause trouble.
Shape matters too. Rectangles are efficient for furniture and easier to build. Curves can be beautiful, but they cost more and sometimes leave dead space around standard furniture pieces. If you want the patio to connect to a front or side path, it helps to coordinate materials and widths with your other hardscape. This is where Front Walkway Materials Compared can help you create a more cohesive exterior plan.
One last rule from the job site: always draw the furniture to scale. Homeowners regularly underestimate how much room circulation takes. You want at least 36 inches for a main walking path, and 42 to 48 inches is better near dining areas and grilling zones.
Compare Patio Materials Before You Commit
Material selection is where budget, style, maintenance, and climate all meet. There isn’t one best patio surface for every home. The right answer depends on how formal you want the space to feel, how much maintenance you can tolerate, and how your local weather behaves.
Here’s a practical side-by-side look at common patio materials:
| Material | Typical installed cost per sq ft | Best qualities | Watch-outs |
|---|---|---|---|
| Broom-finish concrete | $12-$20 | Affordable, clean look, fast install | Can crack, may feel plain without border or scoring |
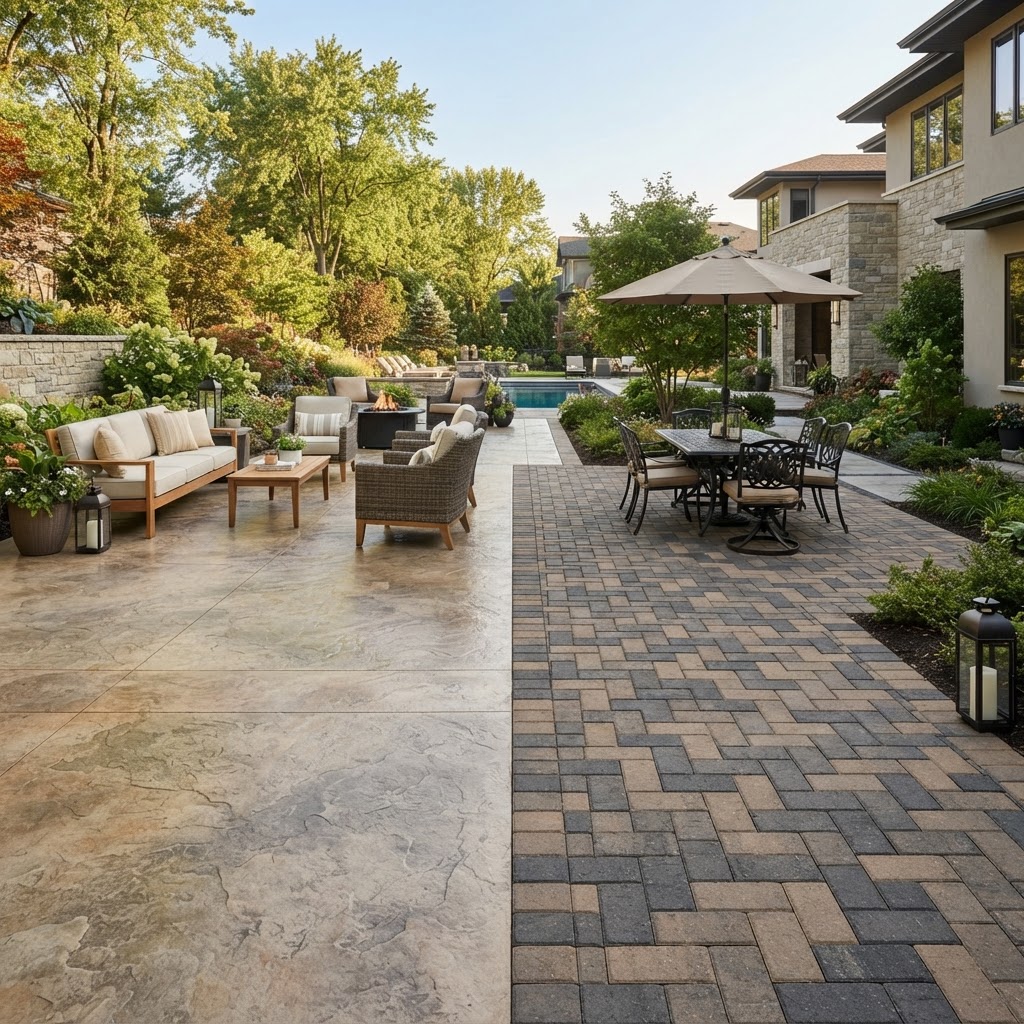
| Stamped concrete | $14-$24 | Decorative, many pattern options | Repairs can show, color can fade, slippery if over-sealed |
| Concrete pavers | $18-$35 | Repairable, durable, many styles | Needs solid base and edge restraint |
| Natural stone | $25-$50+ | High-end look, unique character | Higher labor cost, some stones can flake in freeze-thaw climates |
| Porcelain pavers | $20-$40 | Sleek look, low absorption, easy to clean | Needs careful base prep and skilled installation |
| Gravel with edging | $8-$18 | Budget-friendly, casual style | Migrates, less stable for dining furniture |
If you’re torn between decorative concrete and pavers, this detailed comparison of Stamped Concrete vs Pavers will help you weigh appearance, repairs, and longevity. If you already know you want pavers, the numbers in the Paver Patio Cost Guide are a smart next step.
In colder climates, I usually lean toward pavers over large monolithic concrete slabs if the budget allows. Pavers handle movement better and are easier to repair in sections. In hot sunny yards, lighter colors are often worth the slight premium because they stay more comfortable underfoot.
Get the Base, Slope, and Drainage Right
This is the part homeowners don’t see, and it’s the part that decides whether the patio lasts. A pretty surface installed over a weak base is a callback waiting to happen. The crew should excavate to the depth required for your soil and material, compact the subgrade, install the right base layers, and compact again in lifts.
For many paver patios, total excavation can land in the 7 to 12 inch range, sometimes more if soil is weak or frost depth is a factor. A compacted aggregate base, bedding layer, and proper edge restraint all matter. Concrete patios need a stable, well-prepped sub-base too, not just a truck and a form board.
Slope is not optional. Most patios should pitch away from the house about 1/8 to 1/4 inch per foot. That’s enough to move water without making furniture feel off-balance. Where patios meet the home, door threshold height, siding clearance, and water management have to be checked carefully.
If water doesn’t have a clear path away from the house, the prettiest patio on the block becomes the most expensive mistake.
Drainage extras can include swales, channel drains, dry wells, catch basins, or tying downspouts into a better discharge plan. If your yard already has puddling issues, don’t let a contractor wave them away. A patio often makes existing drainage problems more obvious.
Plan Edges, Steps, and Transitions Like a Pro
A patio shouldn’t feel like a slab dropped into the yard. The perimeter, step details, and transitions into lawn, walkway, or house are what make the installation feel finished.
For pavers, a soldier course or contrasting border can clean up the outline and visually frame the space. For concrete, I often add a border score or a change in texture near the edge so the surface feels more intentional. If the patio sits above grade, steps need comfortable rise and run proportions, generous width, and good nighttime visibility.
Thresholds at doors are another common trouble spot. You need enough clearance so rain stays out, screens and doors work properly, and the finished patio height doesn’t crowd siding or weep screeds. These are boring details until they go wrong.
Transitions are also where landscaping can soften the hardscape. A low planting bed, gravel strip, or seat wall helps the patio sit naturally in the yard instead of feeling abrupt.
Shade, Lighting, Privacy, and Comfort
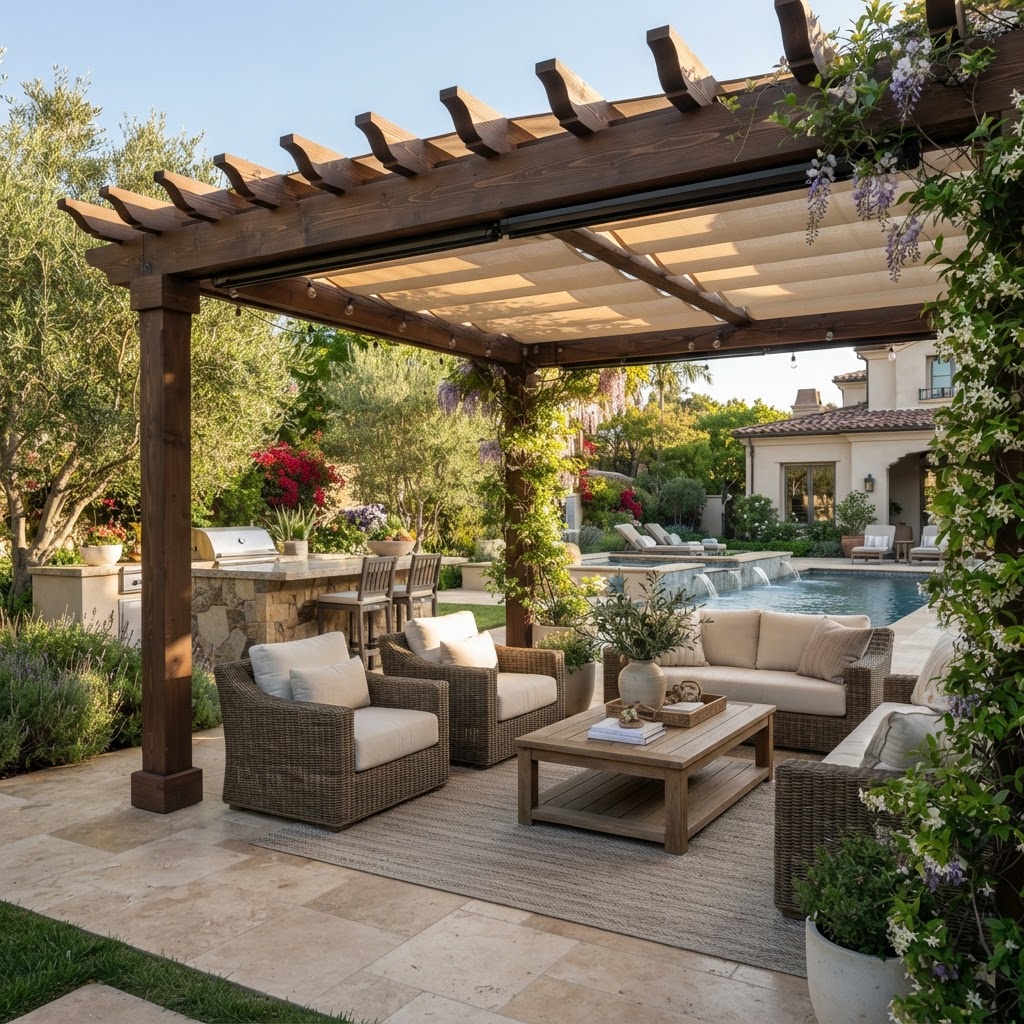
A patio without shade can turn into a heat island by midafternoon. That’s why I like to plan overhead comfort at the same time as the surface, not after the fact. A good umbrella may be enough for a small dining area. For larger patios, pergolas, shade sails, or a roof extension can make the space usable for much longer stretches of the day.
If you want inspiration, this roundup of Pergola Ideas for Shade and Style is a helpful companion. Pergolas work especially well when they’re sized with the patio from the beginning, so posts, footings, and traffic patterns are coordinated instead of improvised later.
Lighting needs layers. I like to combine path lights, step lights, wall lights, and a softer source such as string lighting or pendant fixtures under a pergola. If you know you want a fan, heaters, speakers, or outlets for holiday lighting, run conduit before the patio is finished.
Privacy matters too. A beautiful patio can still feel exposed if it looks straight into the neighbor’s windows. Slatted screens, tall planters, evergreen hedges, or a partial masonry wall can create enough enclosure without blocking every bit of light. For accessories like lanterns, outdoor rugs, planters, and decorative accents, the Bari Decor store is a useful place to shop once the bones of the patio are set.
Add Outdoor Living Features That Earn Their Keep
The best outdoor features are the ones that fit your routine. I’d rather see a modest, well-placed grill station and a comfortable seating area than an oversized outdoor kitchen nobody uses.
Popular upgrades include built-in benches, seat walls, fire pits, gas fireplaces, outdoor kitchens, beverage centers, and storage. Fire features are great for extending the season, but they need proper clearances from structures, furniture, and overhead elements. Gas lines should be planned early, not tacked on after the hardscape is installed.
If cooking outside is part of the goal, start with workflow. Prep space, trash, refrigeration, and access to the indoor kitchen all matter. This guide to Outdoor Kitchen Patio Layout Ideas can help you avoid the classic mistake of cramming appliances into a space that really needed elbow room.
Don’t forget the surrounding landscape. A patio always looks better when it has some softness around it. The same low-upkeep planting approach discussed in Low-Maintenance Front Yard Landscaping Ideas works beautifully around patio edges too, especially if you want structure without constant pruning.
Budget for Patio Design and Installation
Most homeowners focus on the finish material, but the budget is usually shaped just as much by site conditions and details. A flat yard with good access is cheaper than a sloped yard that needs retaining, drainage work, demolition, or hand-carrying materials through a narrow gate.
Here’s where money typically goes in a patio installation:
| Budget item | Typical share of total cost | Notes |
|---|---|---|
| Demolition and excavation | 10%-20% | Old concrete, roots, poor access, and hauling add up fast |
| Base prep and compaction | 15%-25% | One of the most important line items |
| Surface material and labor | 35%-50% | Depends heavily on material choice and pattern complexity |
| Drainage and grading | 5%-15% | Often skipped in early estimates, then added later |
| Borders, steps, walls | 5%-15% | Details that make the patio feel custom |
| Lighting, gas, kitchen, shade | 10%-40% | Feature costs vary widely |
A basic 12 x 16 concrete patio may land around $4,000 to $7,500 in many markets, while a paver patio of the same size often falls in the $6,000 to $12,000 range once proper prep, edging, and cleanup are included. Natural stone, seat walls, kitchens, and pergolas can push a project well past that.
If you’re pricing options, simplify the shape before you downgrade the whole project. Straight runs, fewer cuts, and fewer elevation changes can save real money without making the patio feel cheap. You can also phase features: build the patio and sleeves for lighting or gas now, then add a fire pit or pergola later.
For more targeted pricing, compare your surface options with the Paver Patio Cost Guide. When you’re ready to talk numbers with local pros, use get quotes so you can compare scope and pricing side by side.
Know the Permits, Timeline, and Sequencing
Some patios can be built without much red tape. Others trigger permits because of grading, retaining walls, electrical work, gas lines, roof structures, or setbacks. If your project includes a pergola, outdoor kitchen, drainage tie-ins, or major changes near the house, ask early. The thought process is similar to other exterior work, and Do You Need a Permit for a Deck? gives a good sense of the questions local building departments tend to ask.
As for timing, a simple patio may take a few days of active construction, but the full project timeline is usually longer. Design, measurements, material ordering, utility marking, inspections, and weather delays all stretch the calendar. A straightforward small patio might move from contract to completion in 2 to 4 weeks. A larger project with drainage, masonry, pergola work, and kitchen features can take 4 to 8 weeks or more.
Sequencing matters. Irrigation changes, low-voltage lighting sleeves, gas rough-ins, and drainage lines should be handled before the finished surface goes in. If you’re still deciding between a patio and an elevated outdoor platform, compare the maintenance and climate performance issues in Best Decking Materials for Your Climate.
Hire the Right Patio Contractor and Avoid Common Mistakes
A good patio contractor should talk confidently about excavation depth, compaction, base material, edge restraint, water flow, and finish details. If the conversation stays only at the color and shape level, that’s a warning sign.
Ask to see recent projects, especially ones that are at least a year or two old. Fresh patios always look good. Older ones tell you how the installation really performed. Get the scope in writing, including demo, hauling, base depth, drain work, material brand, joint material, cleanup, and warranty.
You can browse installers, landscape contractors, masons, and outdoor living specialists through Bari Decor professionals. I also recommend getting at least three estimates through get quotes, because patio proposals often vary more in scope than in price.
Common mistakes to avoid:
- Building the patio too small for furniture and circulation
- Ignoring afternoon sun
- Skipping drainage fixes because they are not visible
- Choosing a dark surface in a very hot exposure
- Installing features before planning utility runs
- Accepting vague bids that don’t specify prep depth or materials
A well-built patio feels simple after it’s done. That’s the point. The work behind the scenes should disappear, leaving you with a space that drains properly, fits your life, and gets used for years.
Summary
- Start with how you’ll use the patio, then size the space around furniture and circulation.
- Choose materials based on climate, maintenance, repairability, and budget, not just looks.
- Invest in base prep, slope, and drainage before decorative upgrades.
- Plan shade, lighting, privacy, and utility rough-ins early so the patio works day and night.
- Compare contractors carefully and make sure every estimate spells out prep, materials, and drainage.
Frequently Asked Questions
Written by
Bari Decor
Bari Decor — Industry Insights
Need a Professional for Your Project?
Get matched with verified home design professionals in your area.
Get Free Quotes